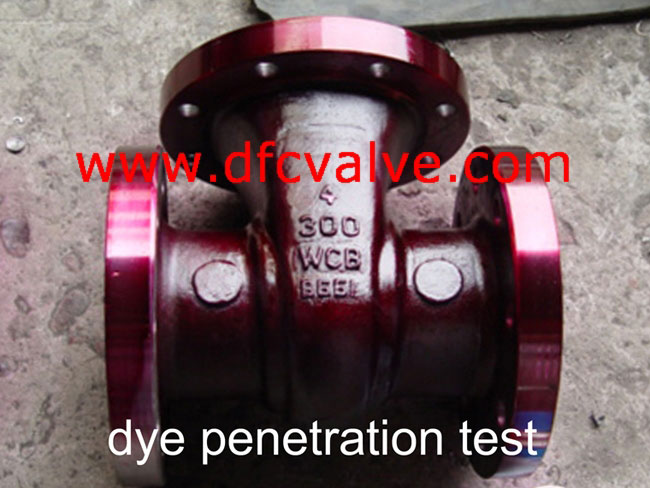
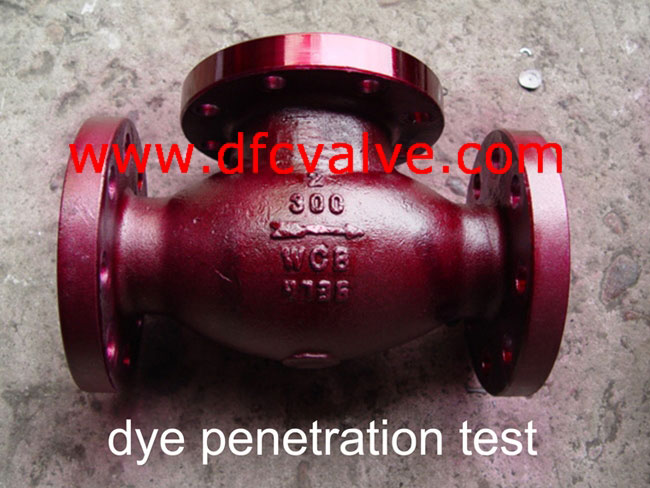
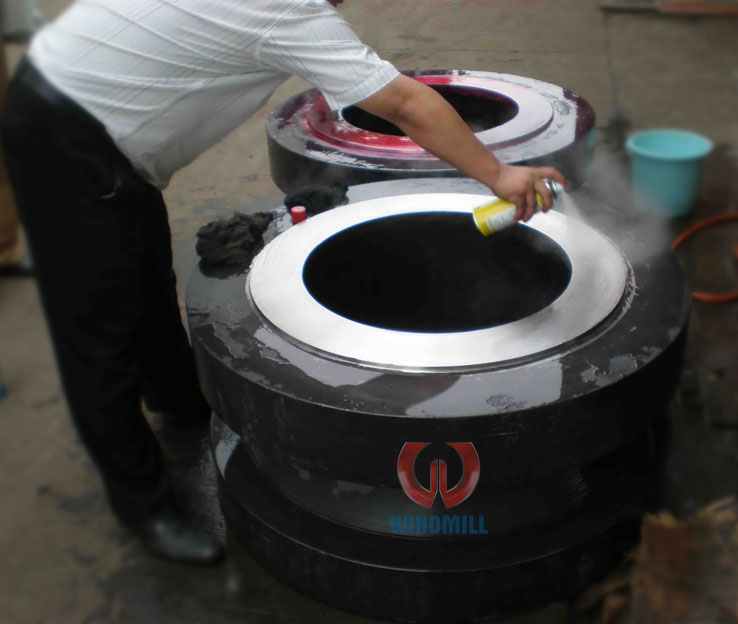
| During manufacture and assembly of products, there is a wide range of testing and inspection carried out to ensure the materials and items satisfy their specifications or are fit for the required purpose. Routine testing is often in-house and it is vital that the limits of the test methods are known and the meaning of the results are understood. The same understanding is needed when interpreting specifications for quotations or when assessing test results supplied by others. This section details the major Non Destructive Testing (or ND Examination or ND Inspection) techniques carried out. The three acronyms NDT, NDI and NDE are all used. For assurance of the absence of surface defects, inspection techniques range from simple visual through dye penetrant testing of cleaned non-magnetic materials, to magnetic particle inspection for surface or near surface defects to more sophisticated ultrasonic or radiographic tests for bulk imperfections. Eddy current testing is another method which is an extremely sensitive method of defect detection particularly used in nonferrous tubing or aircraft parts. Remote field techniques are widening in application but the results still requires very careful interpretation. All these techniques should be carried out by trained personnel usually from a certified laboratory. Dye Penetrant Dye penetrant examination (AS2062) uses a variety of materials (AS2565) which are brightly coloured (or black-light fluorescent) and are drawn into small defects by capillary action. After the excess penetrant is removed from the surface, a contrasting developer is applied which draws out the penetrant and vividly displays defects. Surface roughness makes interpretation less certain. It is necessary to record defect patterns immediately as the dye spreads. It is clear that surfaces must be clean and grease-free prior to examination. In some applications (especially aeronautical) chloride-free consumables are required. Magnetic Particle Magnetic particle techniques (AS1171) basically use magnetic powders in a slurry (AS2085) and when a magnetic field or a magnetising current is applied, the magnetic material collects along defects. However, it also collects on laps, machining marks, corners and other sites. Hence a report stating that “crack-like indications were found” may not mean that cracks are present. The sensitivity of detection will be degraded by the presence of paint coatings and, with any more than lacquers, removal of the coating may be necessary to detect fine cracks. Ultrasonic Ultrasonic testing uses a high frequency (100kHz-10MHz) sound wave as a beam of illumination and measures the reflected beams from defects, inhomogeneities or the back wall of the item. Ultrasound cannot be used if the beam is scattered or absorbed by unsuitable microstructure - cast iron and stainless steels cause varying degrees of difficulty although specialised probes can assist. Transmission of the sound wave requires a couplant and a reasonably smooth surface. Alternatively, the sound generator and test sample may be immersed in a coupling fluid, i.e. a tube or tank. Ultrasonics has two distinct functions: · Measurement of wall thickness in service or after damage (AS2452.3). Wall thicknesses can be measured to ~0.2mm using an A or B scan unit. Digital instruments will give 0.1mm readings but the accuracy is really no better than an analogue (A scan) or computer (B scan) unit. Digital units may also give spurious readings if there are planar defects in the plate which cause readable reflections. · Examination of welds for defects. This is covered in AS2207. By analogy with light beams, defects that are edge on will not be readily detected and several angles of view may be required. Narrow cracks may not reflect sound waves sufficiently for reliable detection. Radiography Radiography uses X-ray equipment in the laboratory and radioisotopes on site or for heavy sections. It is a simple shadow image process subject to the laws of geometrical optics, i.e. magnification depends on the ratio of distances of source to object and object to detector (usually film). However, the source is not a point source and this causes unsharpness. Radiography is used for sub surface defect detection (AS2177) and, with suitable calibration, measurement of wall thicknesses by density changes. Accuracy of about 5% should be achievable although the standard (AS 2452.2) is more conservative. Narrow defects perpendicular to the beam are hard to detect. For examination of welds or detection of casting defects, standard radiographs of defects are available. Specialised methods such as flash radiography (for examining external corrosion under lagging) and tomography (for computer slicing of the X-ray image, e.g. in complex castings or timber) are also available. One of the major limitations with radiography, is that for safety reasons, two people are normally required and the area must be cleared of other personnel. These factors are not prohibitive, but they add to costs. Electromagnetic Methods Eddy current and magnetic flux leakage are two ends of the same spectrum, i.e. magnetic flux is a DC method used for detecting wall loss in pipes (called intelligent pigging) or tank floors, whilst in eddy current testing a coil is used to apply a high frequency electromagnetic field. This field induces currents in the metal item under test and by appropriate detection of the effect of the induced currents, the method can be used as a very sensitive detector of cracks or wall loss in non-ferromagnetic materials. High frequency eddy currents are confined to the surface of material although the actual penetration depends on the frequency and electrical and magnetic properties of the material. Eddy current comparison screening is commonly used with nominally identical parts to detect defects or hard spots in, for example, manufactured pipes in a mill. | 


